
Published - Mon, 16 Jun 25
Project Timeline: 02 Jun - 06 Jun (4 days)
Flower Fabric Clothes
I haven't been sewing in a while and it's been on my mind to try making some more clothes. While in France a few weeks ago, I found a fabric shop that sold loads of cool fabrics so got excited to try something. This would also be a great craft to do this summer in France.
I bought this flower fabric. It's a reasonably heavy weight, but I envisioned a colourful, bright outfit. I found this combo outfit pattern online that had a bikini-esque top, some shorts and a jacket. I thought I would try that.
It turned out pretty good. No issues really. The fabric is a bit stiff though. I always make the same mistake, thinking thicker fabric is better quality. Bu...

Published - Wed, 28 May 25
Project Timeline: 14 May - 28 May (14 days)
Harvest Baskets
As seen on pinterest, this seemed like an easy small project to use up plywood.
This was inspired by a basket I saw on pinterest, but I did change a few features when I reverse engineered the design. I made the basket out of scrap plywood and a round rod I had lying around. For the netting I used hemp string.
(Look at pictures below for context) I created a square hole to fit in the lengthwise supports, and filed down the lengths to fit snugly in the hole. This way, I didn't need to really use glue or screws, which I really like. The square hole was done with a small chisel. I'm still refining chisel skills. With plywood, you need to go in from both sides of the wood so you don't blow out the surface, which I did on one of the sides, making it a...
Published - Mon, 19 May 25
Project Timeline: 15 May - 18 May (3 days)
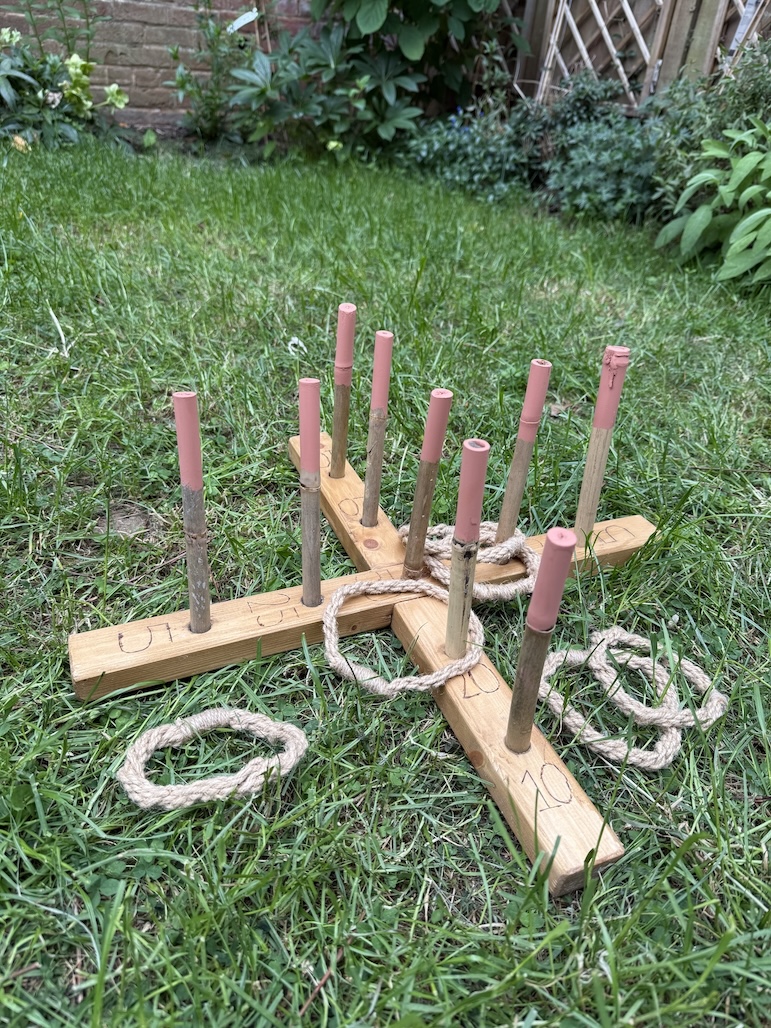
Ring Toss Game
A common garden game that seemed easy to make.
I saw recently this at a fair in Belgium, and I've seen this game probably many times before. It seemed like a quick and easy wood working project, using up some leftover wood.
Fair simple process. I did have to buy some flat bottom drill bits to drill the holes for the sticks. I used bamboo cut down to about 15cm size to go in the holes, and I bought a pyrography pen (wood burning kit), to burn in the scores. This most works... I'm not good a wood burning yet, it requires a lot of skill it seems, but I managed some rudimentary numbers. Then I sanded and stained the wood.
I also made some rope rings, using some thick rope I had lying around. I watched a vi...
Published - Sat, 17 May 25
Project Timeline: 22 Apr - 17 May (25 days)
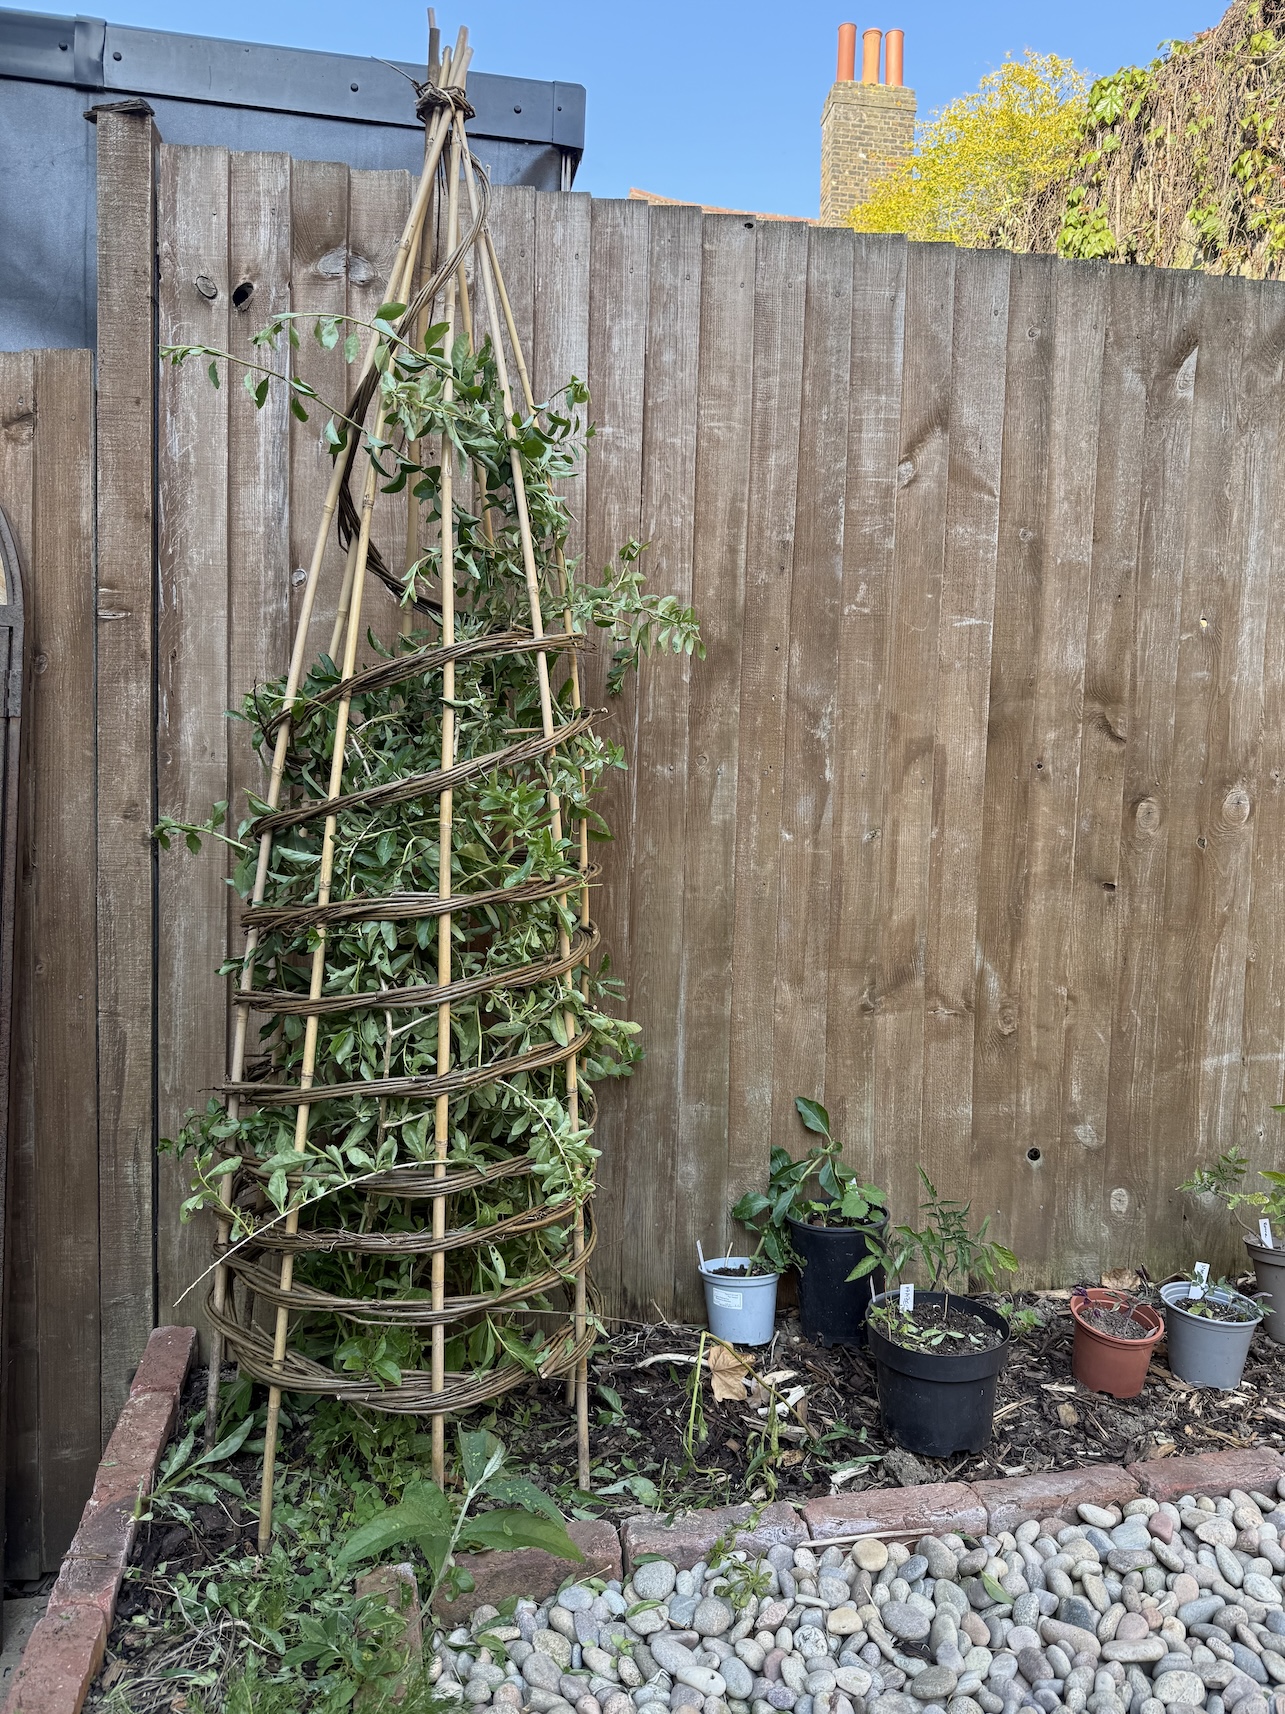
Garden Obelisks
A willow weaving project for my garden plants and a few vines on the field.
These garden obelisks will be to train my garden tomatoes this summer. Previous years I've used just bamboo sticks, but I found that they're quite slippery to tie plants onto. Yes they're strong sticks, but you need some horizontal supports to hold the tomato vines and the plants can get enourmous.
I saw these obelisks on pinterest and thought they looked lovely and natural, so I ordered some willow from a farm and got to work! I found a YouTube video for method and instructions. I've done weaving before so it wasn't too tricky.
Ideally I wanted to have the vertial stakes in willow as well as the weavers, but the willow I got was way to ...

Published - Wed, 30 Apr 25
Project Timeline: 14 Apr - 17 Apr (3 days)
Kentucky Stick Chairs
Two chairs for the field
I first came across these chairs, consciously, in Sweden last year. I saw these in people's front gardens in more rural areas, immediately loved the design and they looked simple to make. After searching around online I found a few woodworking blogs that gave the step by step instructions and it was known as the "Kentucky Stick Chair". At least that's what it's known as in the U.S. The origin of the design is unknown, and since its found in Europe as well, there are probably other names for it.
For this project, I actually found a timber merchant near me that I could drive to myself to pic...
Published - Mon, 07 Apr 25
Project Timeline: 28 Feb - 07 Apr (38 days)
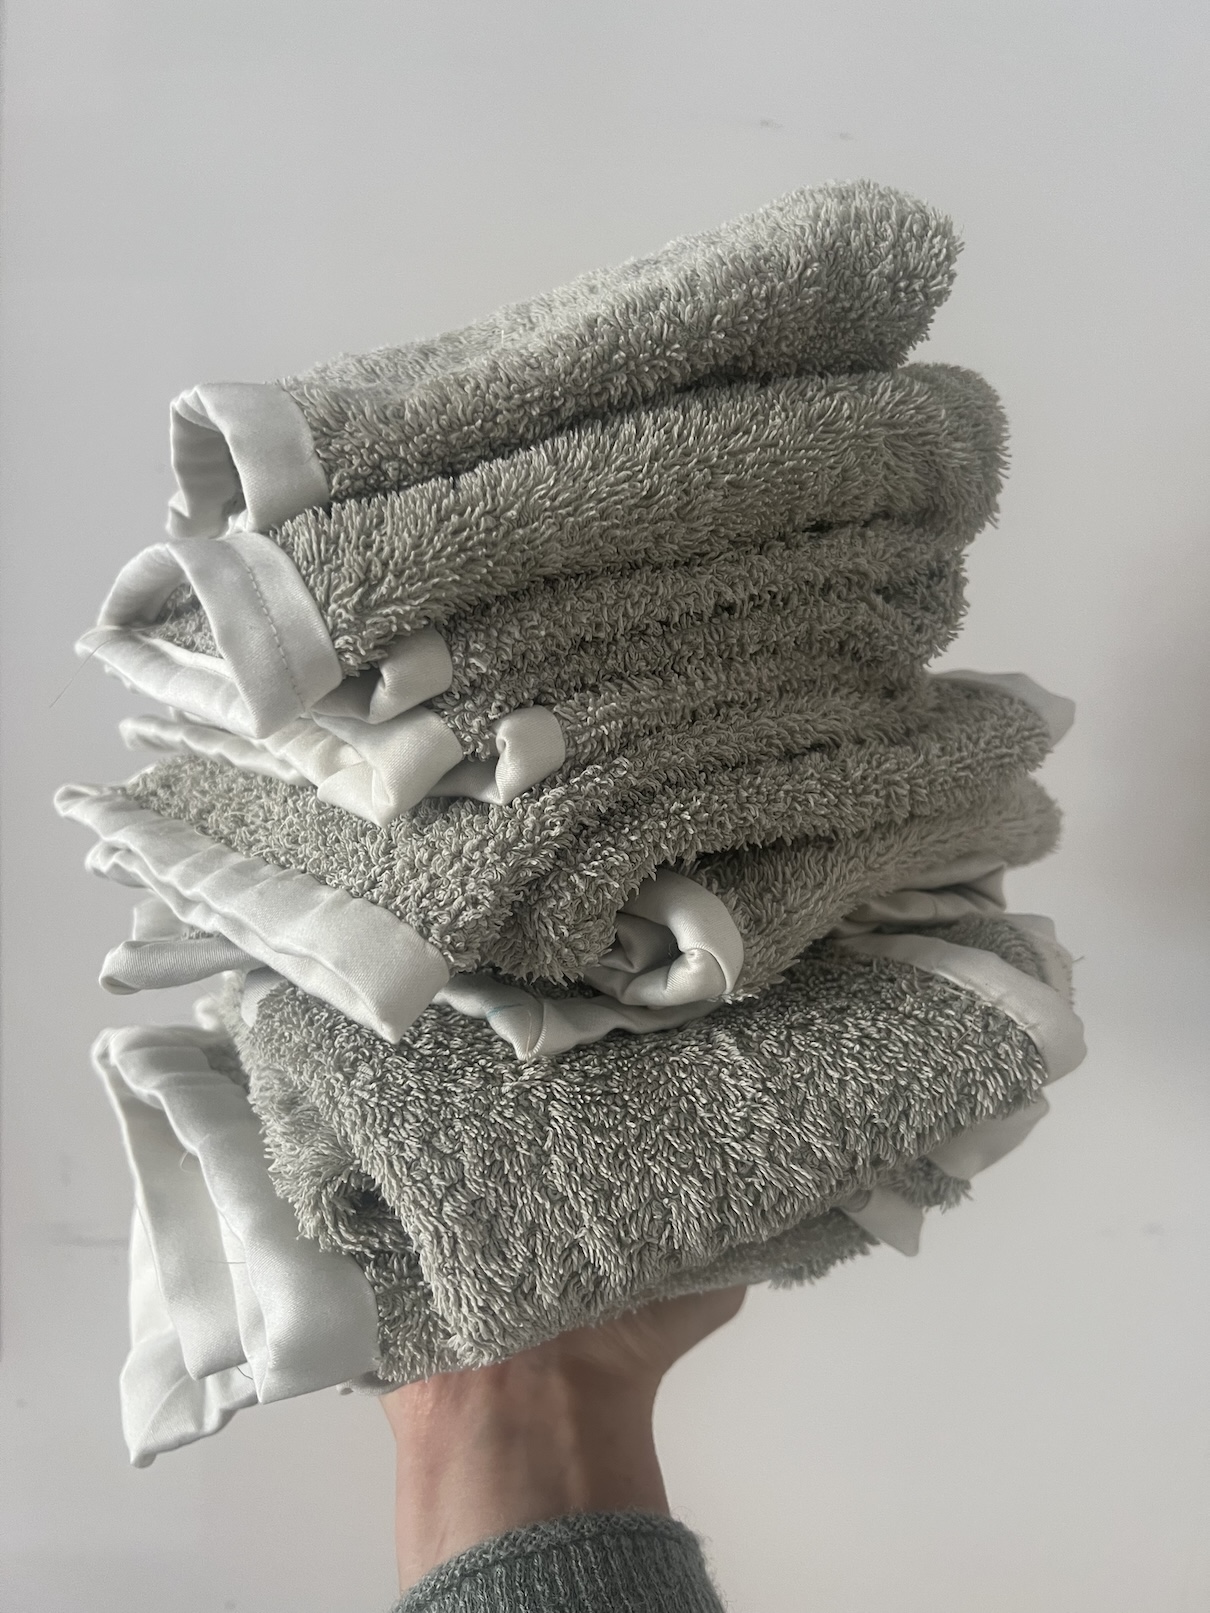
Towel Rags
I bought some new bath towels as the old ones with quite ripped, so I cut it into squares to turn into rags.
We bought some new bath towels as our old ones were quite ripped and needed refreshing. So I cut the towel into squares and turned it into rags for cleaning.
Initially, I thought; that's that done. But the raw edges of the rags were going to fray so I needed to add a border.
Seems simple, but somehow this took way more iterations and time than I thought. I cut the squares just fine and then decided to use some leftover curtain lining (of which I still have loads) and cut them into long strips. I wanted to make mitred corners, which is a neat way of going around the corner, usually used for napkins and quilts and things. Anything really.
After a few attemp...
Page 2 of 9
