Feb. 5, 2025
Project - Two Feathered Boxes
20 Jan
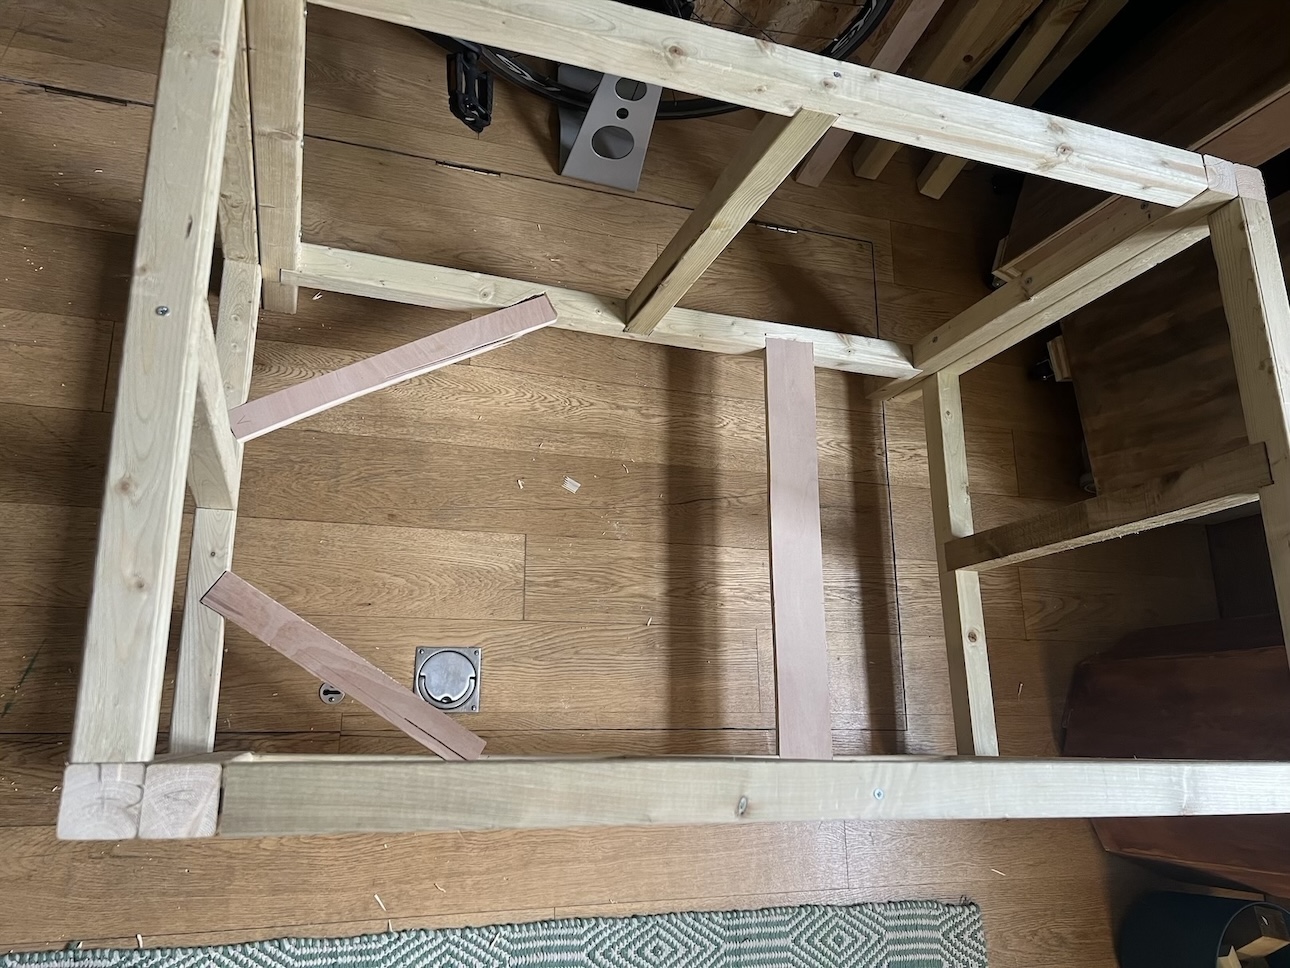
I bought one set of 6 2x2 inch timber and started making the long side of the frame. I cut everything to size with a mitre saw and got some dowels and glued it all together. I thought I had done a reasonable job... yes the dowels were probably a bit small for the thickness of the wood, and I don't have square clamps so I help it together with weights while the glue dried. I realised though that it was not strong at all, some areas didn't have good contact and it was just flimsy.

I remembered that I'm aspiring to be a woodworker, meaning proper joinery, and I had just discovered half lap joints. So why am I not doing that? Its tempted to just glue and screw and be done in less than half the time, but that's not great quality.
So I easily broke the pieces apart and started again, chiselling out the joins. I managed to get tight fittings joins each time which was awesome. Granted it very soft, almost wet... wood so there is a lot of leeway to squeeze in a join. Looking much better now. Time to order more wood. I initially got this from Wickes, and when I went back for more I calculated one box would cost me around £190... for this crappy timber. It's crazy. I looked online at other sites instead, and found "Materials Market", which has the same stuff at less than half the price. My goodness. So I've ordered enough for hopefully both boxes in total.

1 Feb
The new timber arrived, it was too big to fit in my craft room so it had to be stored in the living room while I cut it down to size. I made the other two frames like the first two then went about trying to join them together in a square. Initially I had the genius idea of using some kind of rope to weave down the sides to bind the corners together... I didn't go that way in the end and just did some really long screws.
Then I cut out the base out of chipboard. I did have to do some back and forth trying to make the cuts-out fit the frame. It was hard to actually fit the base in; too many angles. In the end, I had to cut the base in half so I could place each half individually, otherwise it just wouldn’t go in.
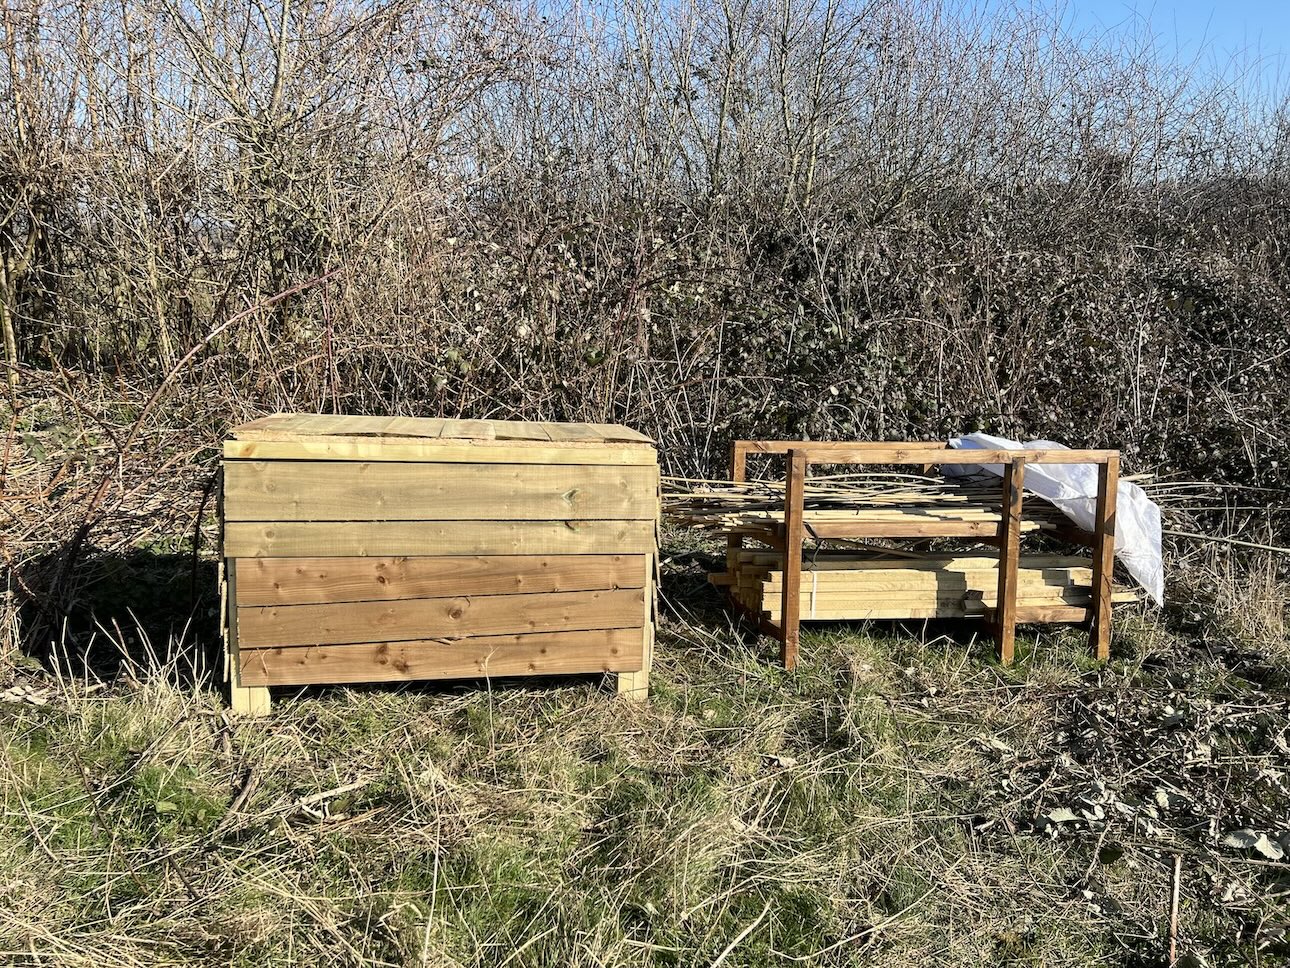
After the base I worked on the lid, which was just another frame with a chipboard top. I did the frame with the half-lap joinery again using a saw and chisel. Still working on improving that skill. I put two stabilising beams through the middle of the lid and screwed the top in place. I’m so gleefully excited about how it’s turning out. The chipboard lid isn’t very aesthetic, maybe a wood stain will make it a bit better, or maybe I can add some detailing, but I love the look of the feather boards. It’s now sitting out in my garden. What a job!!!! This might be the first wood project I’m genuinely proud of. TBD on functionality and if it will be able to weather the rain (varnish still to come).


5 Feb
The lid was especially difficult to fit on top via the hinges. I just couldn't get it lined up and screw it at the same time. I would need 2 or 3 people to do it. So I ended up only assembled the lid when on site in the field. I attached the lid to the back panel first, then fit it onto the three other panels. I had to sit inside the box with the lid closed in the field while reasembling it, which was a bit weird. Once I had finished, I came out of the box like a jack in the box, though no one was there to be suprised. Just for my own amusement :).
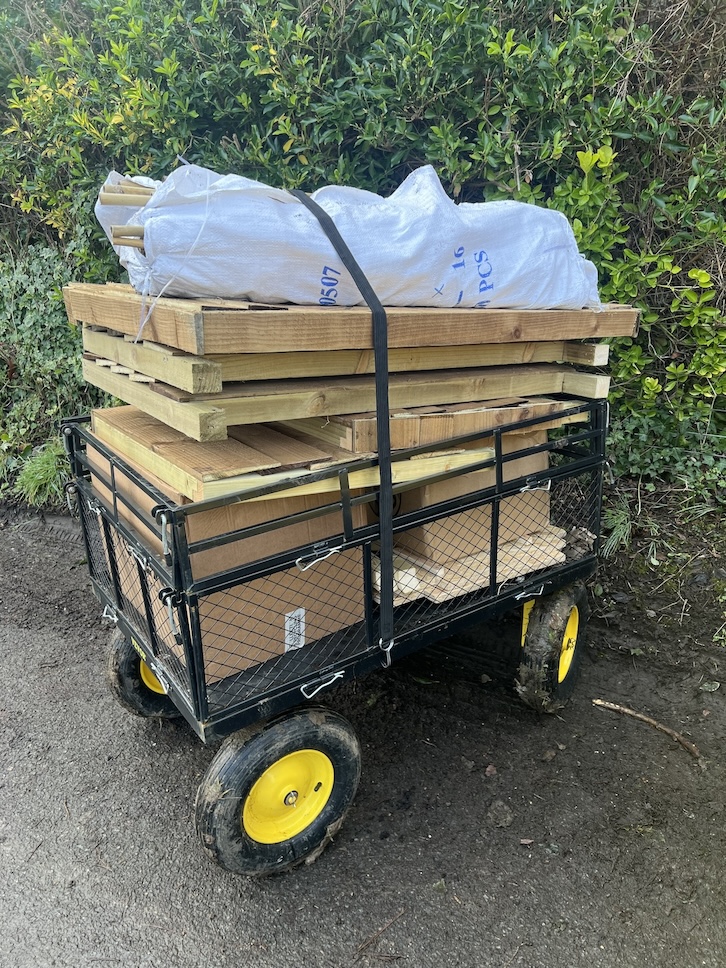

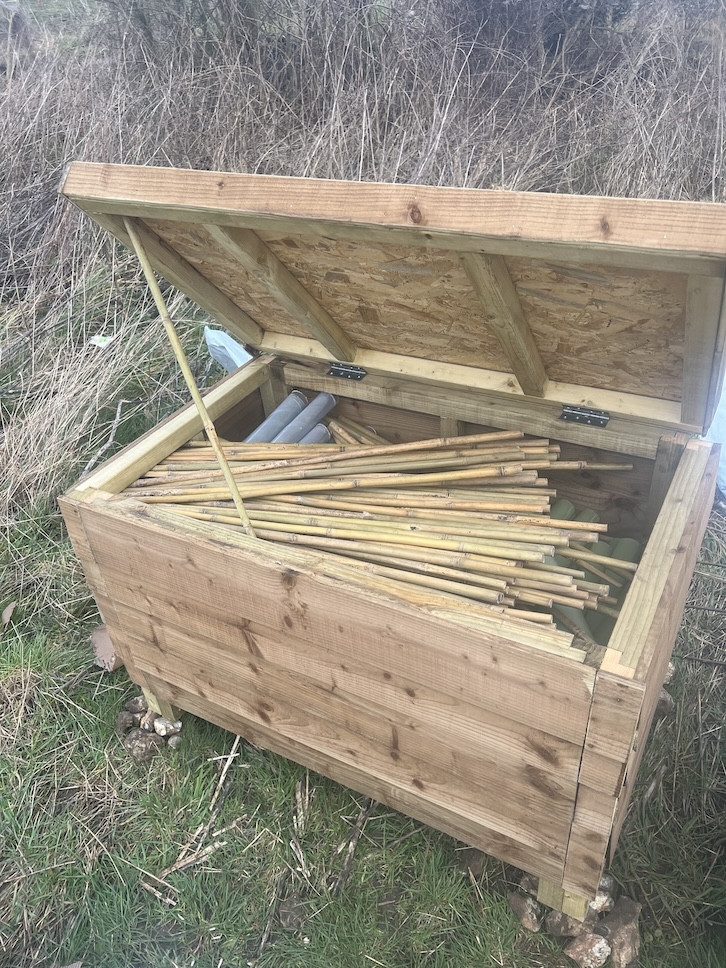
In the end, I think the look is awesome. I like the panel detail I was able to put on top of the lid to cover the chipboard a bit. I plan on nailing down some kind of plastic tarp over the lid to give it more rain protection. Once in place, I immediately filled it with all my extra tree guards and bamboo sticks. It’s completely full. All in all super happy with it!
Next I need to make another identical one... I've been advised onto mortise and tenon joints, so I might experiment with that for the next one...
2 Mar - Second Storage Box
Where did February go? Seriously what happened. I made the second box without too much hassle. I ended up running out of timber for some of the base stablisers, and I didn't have enough chipboard for the base and lid. I took offcuts from plywood I had so made it work. Some parts aren't pretty, but it's complete.
Plywood offcuts for base stabilisers.
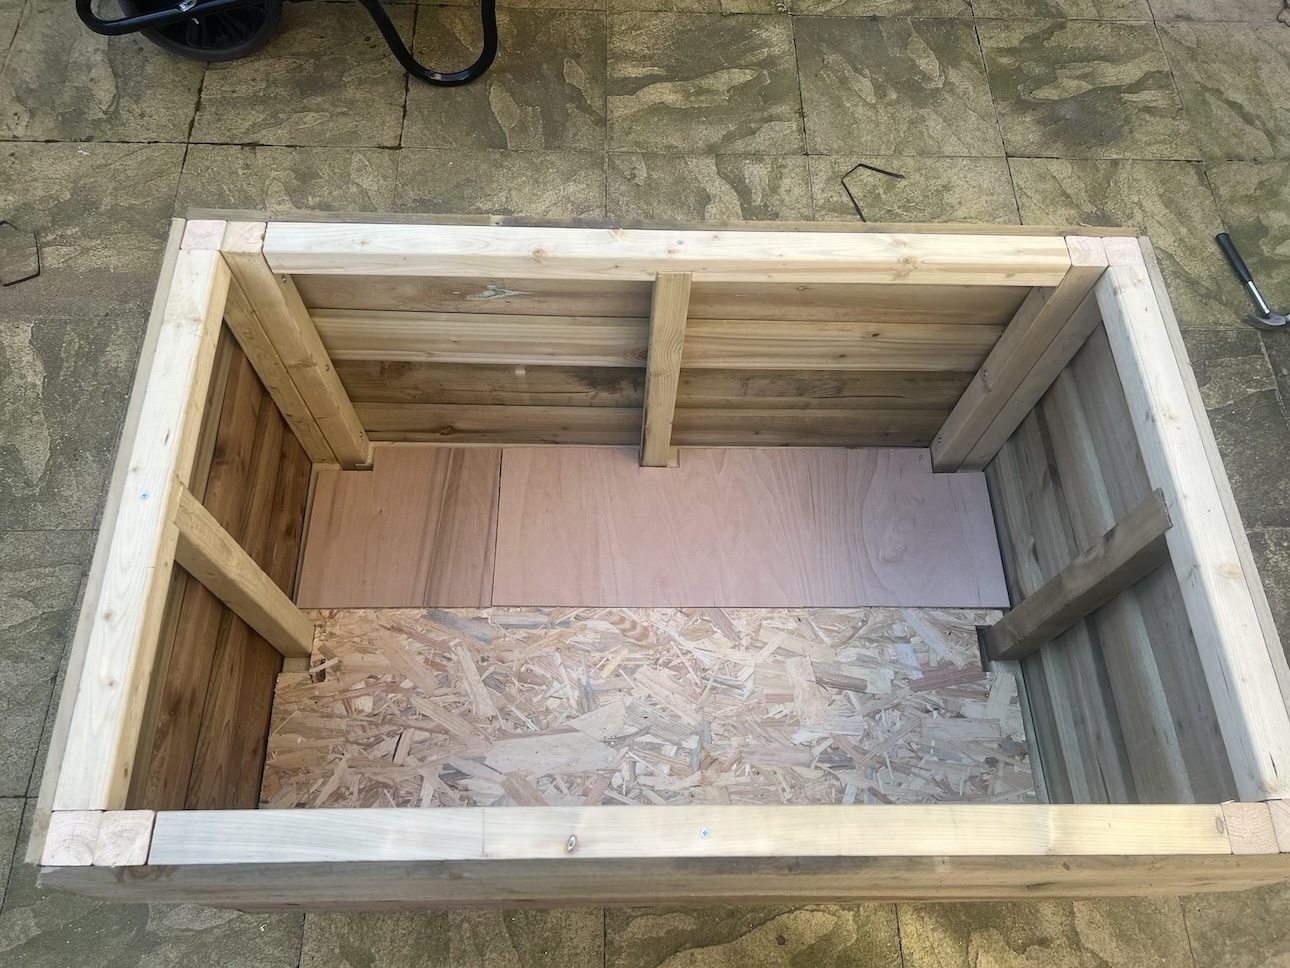
Plywood base because I ran out of chipboard.
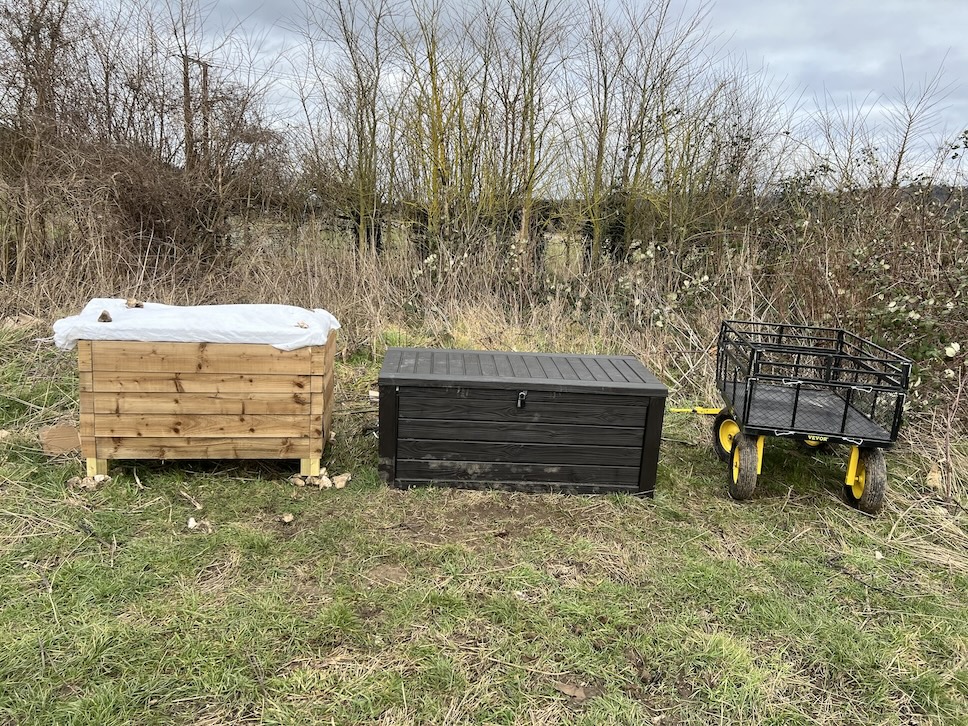
3 Mar
Final installation

Total Likes: 0
Comments
No comments yet.

Charlotte Leysen
Hi there I'm Charlotte from London and I am a Millennial hobbiest. By that I mean I love making things, for both the process and the outcomes. On this blog I talk about all the things I'm working on and learning each week. On some projects I will go into a bit more detail on what I did and my experience through it.
Some facts about me:
- I am not a perfectionist, preferring to complete something than to attempt to make something flawless.
- I am in a constant cycle of building up inspiration, executing the ideas, then winding down to reflect and regenerate.
- I am interested in almost anything that can be made from scratch using nature / natural materials.